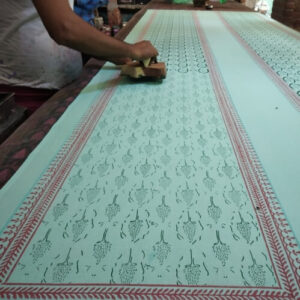
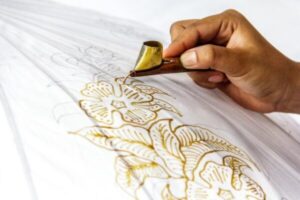
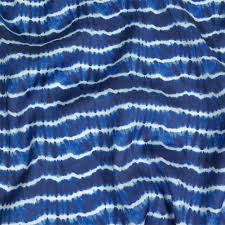
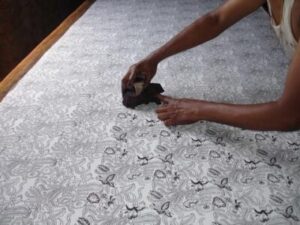
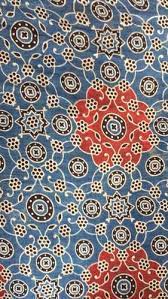
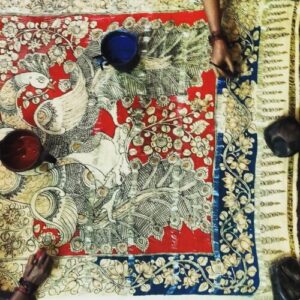
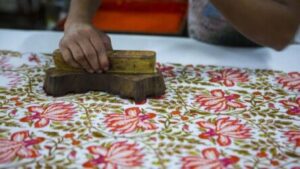
It is necessary to have a Block Printing Guide for Beginners. Block printing may be a traditional sort of fabric design that’s still used extensively today in India. It is a simple and instantaneous printing technique which will produce rewarding results on fabric and paper.
In essence, block printing is remarkably almost like rubber stamping, with many of the printing skills being transferable. Block printing is also an incredibly creative process. With just one wooden printing block you can create endless designs and variations on a theme, and become an instant fabric designer.
Block Printing Guide for materials used to do Block Printing
• Inking tray
• Textile paints
• Small sponges
• Foam mat
• Fabric
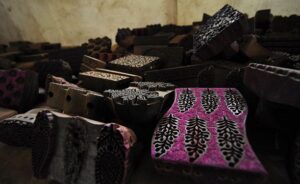
• Wooden print blocks
Block Printing Guide to do Block Printing
1) Place your fabric on the foam mat, with your materials close at hand.
2) Squeeze a smidgen of fabric paint onto your inking tray. Dab a small sponge lightly and evenly into the paint.
3) Using the sponge, dab evenly across the surface of the wooden printing block.
4) Press the block down onto the fabric with even pressure, holding it in place for a few seconds.
5) Remove the wooden block by gently peeling it from one edge.
6) Allow the stamped image to dry, and then heat set it following the paint manufacturer’s instructions.
7) Repeat the process in all sorts of different ways to express your creativity.
8) To clean your wooden printing blocks, simply run them under warm water and scrub them with a toothbrush.
How to get better results with Block Printing
- Apply the paint with a sponge.
- Place a foam board underneath the printing surface.
- Experiment, play, and relax.
- Try out as many “what ifs” as possible
- Be spontaneous.
- Experiment with the various ways a single motif can be repeated to create different patterns.
- Keep printing and overprinting until you produce something you are happy with.
- Heat set the textile paint if you want your print to be permanent.
A Guide to Lino Print art.
Block printing—also called linocut and lino printing—looks complicated. (You’re making a stamp from scratch. How does that even happen?) But with a couple of tools and a touch practice, you’ll create designs from simple patterns to layered illustrations.
You can use linocuts (because the design is cut in a block of linoleum) for different patterns and different illustrations. If i would like a design to be graphic but desire it’s painted, linocuts offer you something very organic. There are little mistakes, and you learn to embrace the happy accidents.
MATERIALS FOR LINO BLOCK PRINTING
- Linoleum Blocks, 2″ x 2″ and larger, if you’d like
- Rubber Brayer
- Water Soluble Block Printing
- Rubber Stamp Carving Tools
- Or Spped Ball Block Printing Starter Kit
- Paper or Fabric to print on’
- Tracing Paper
- Pencil
You can design 2″ x 2″ repeating patterns. It’s quite like cutting paper snowflakes—you cut one design, then see how the shapes play together when it unfolds. The repeating patterns make something completely different.
HOW TO CUT YOUR LINOLEUM BLOCK
First, come up with a simple design for your 2″ x 2″ square. Sketch out a couple of ideas in pencil on paper . Don’t be too intentional—let accidents happen. A few things to think about as you make your linocut design:
- Play with organic and geometric lines and shapes.
- Make sure lines and shapes go of the sides of the square—if you keep them contained in the box, they won’t join to make new shapes.
- Remember your design will be a mix of solid and empty spaces, depending on the parts you decided to cut or leave.
- Keep it simple.
Once you’re happy with your sketch, flip it over and place it upside down on the linoleum block. Rub over the lines with a pencil so the lead on the other side transfers to the rubber.
Now you’ll use the cutting tools to remove some of the rubber.
Pro tips: When you’ve decided which spots to hollow out, draw outlines a teeny bit outside of the shapes you’re not going to cut. Use larger cutting tools to cut around those outlines, then use the smallest cutting tools you have to get close to the shapes you’re going to leave. That way you don’t accidentally dig the sides .
LINO PRINTING A REPEATING PATTERN
To prepare, layout your printing paper or fabric on your workspace.
Now squeeze a touch little bit of ink onto your palette paper. Using the brayer, roll out the ink so there are not any blobs or bubbles. Then get a skinny , smooth layer of ink on the brayer, and roll it across the cut side of your printing block.
To print, place your block on the paper or fabric, ink side down, and press.
Now the super-fun part: Once you’ve printed one block, re-ink your stamp and rotate it clockwise. That means you’ll use the lower-right corner of your original print as a “pivot” and print a new block to the right of the first. Then rotate the lino block clockwise again, pivoting around the same corner, and add a new square below that one. Finish up with another pivot and a final square on the bottom left.
Look at what have you done there.
Once you’ve got the basic repeating pattern down, you can play with borders or more squares, using different corners as pivot points.
MORE LINO CUTTING TECHNIQUES TO TRY
For the second half of the block printing basics workshop, the artists could do whatever they wanted. They’d researched block printing on Pinterest, and came with techniques to try for work and side projects.
Some experimented with other pattern-making techniques, like creating simple, self-contained designs to repeat everywhere a bit of paper or fabric.